I thought today I would post a little tutorial for how I made one of my Hallowe'en decorations this year - a shadow box Hallowe'en scene with the gorgeous Trick or Treat from the Art by MiRan store. Perfect for tonight's festivities! This post is long and photo heavy so beware... and please excuse my messy crafting mat. It is heavily used!
1. Cut a base shape to the size you want using black card - mine is 7 inches wide. Cut the same size again for the top layer, but cut out the centre using a smaller size of the same shape. My smaller shape was 6.25 inches wide.
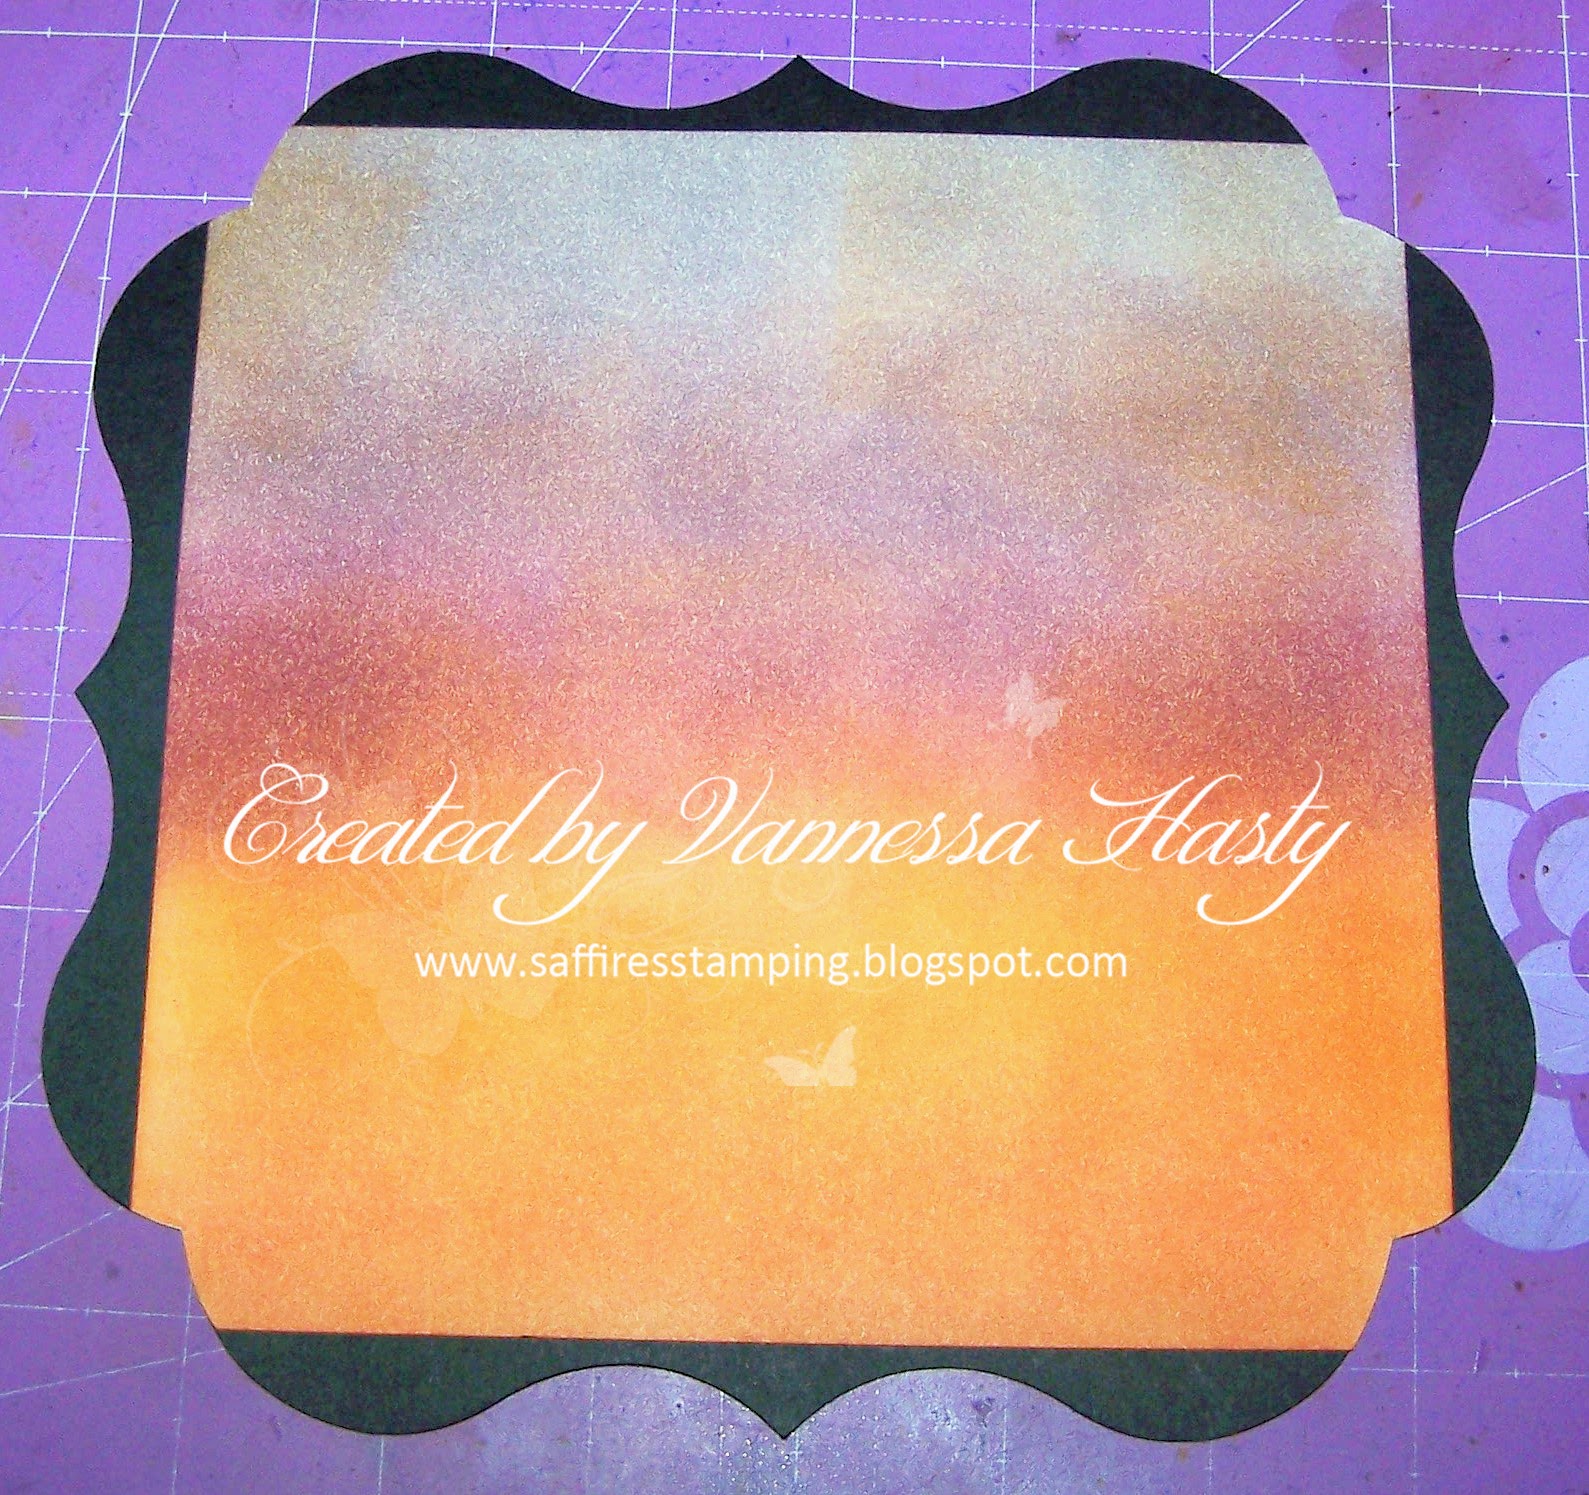
2. Cut a square of white card and ink it to make a dusky sunset. My square was 6.5 inches and I used 2 shades of orange and 3 shades of purple to create the night time sky background.
If you want to hang your frame you will need to add the holes/eyelets and ribbon at this stage. I opted for a standing frame so did not add these here.
5. Add your die cuts to make your silhouette scene and pop them up using foam pads/tape before adding the top frame. Trim off any excess from the edges of the frame.
6. Add your top frame over the top - I would recommend peeling the cover of your tape a side at a time, so you get the positioning correct. Decorate however you like. I added the Stickles dots at the end.
I glued the pumpkins over the top frame but added foam tape underneath where they hang over, so they remained upright. I only glued the banner where it touched the top frame to allow it to hang free.
Skin - E000, E00, E21, E11, R20
Hair - V01, V04, V06, V09
Greens - YG61, YG63, YG67
Pumpkin - YR16, YR68, YR18, YR15
Broom - E31, E33, E35, E37
Stars - Golden Star Gelly Roll Pen
To make the frame stand up I used the centre piece cut out from the top frame, folded it in half and glued it to the back towards the bottom of the frame.
I hope you have enjoyed my little tutorial. This simple shadow box can be adapted for so many different occasions and I already have plans to make a Christmas themed one to add to my Christmas decorations!
HAPPY HALLOWE'EN!
Hugs, Vannessa


Love this. Great job.
ReplyDelete